
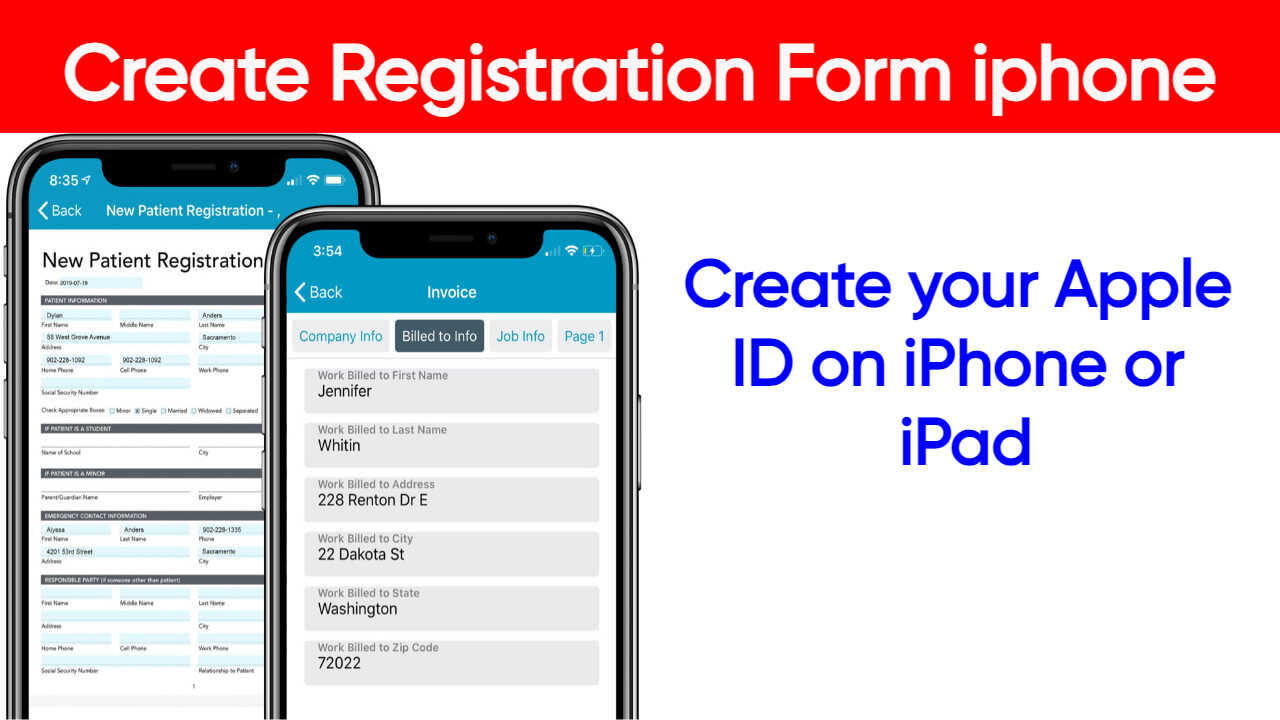
Create Registration Form iphone:Create your Apple ID on iPhone or iPad
create registration form iphone free|create registration form in html|create registration forms in iphone:With your Apple ID, you can access all Apple devices and services – such as iCloud, the App Store and more.
Not sure if you have an Apple ID, or forgotten what it is? You may be able to sign in to your device or on a web browser with an email address or phone number that you use with Apple services.
When you’re signed in on your device, you can find and add additional email addresses and phone numbers that you can use to sign in to your Apple ID:Settings (or System Settings) > your name > Sign-in & Security.
Create your Apple ID on iPhone or iPad
You can create a new Apple ID when you set up your device, or set it up later in the App Store.
Create your Apple ID when you set up your device
- Tap “Forgot password or don’t have an Apple ID?”
- Tap Create a Free Apple ID.
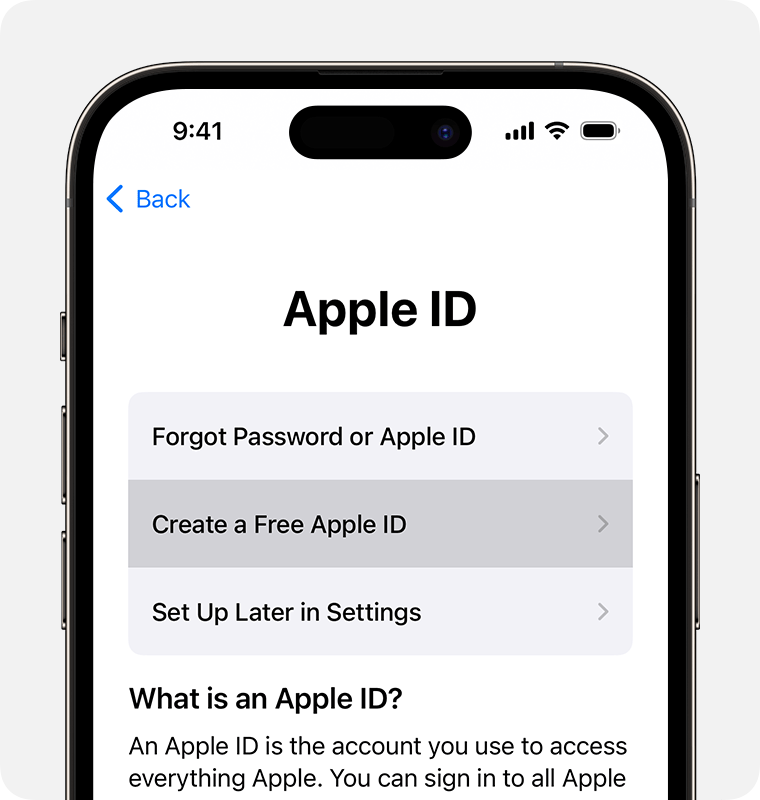
- Select your birthday and enter your name. Tap Next.
- Tap “Use your current email address”, or tap “Get a free iCloud email address”.
- Follow the onscreen steps to verify your email address, create a strong password, set your device region and set up two-factor authentication. If you choose to skip this step, you’ll be prompted to do this later in Settings.
Create your Apple ID using the App Store on your device
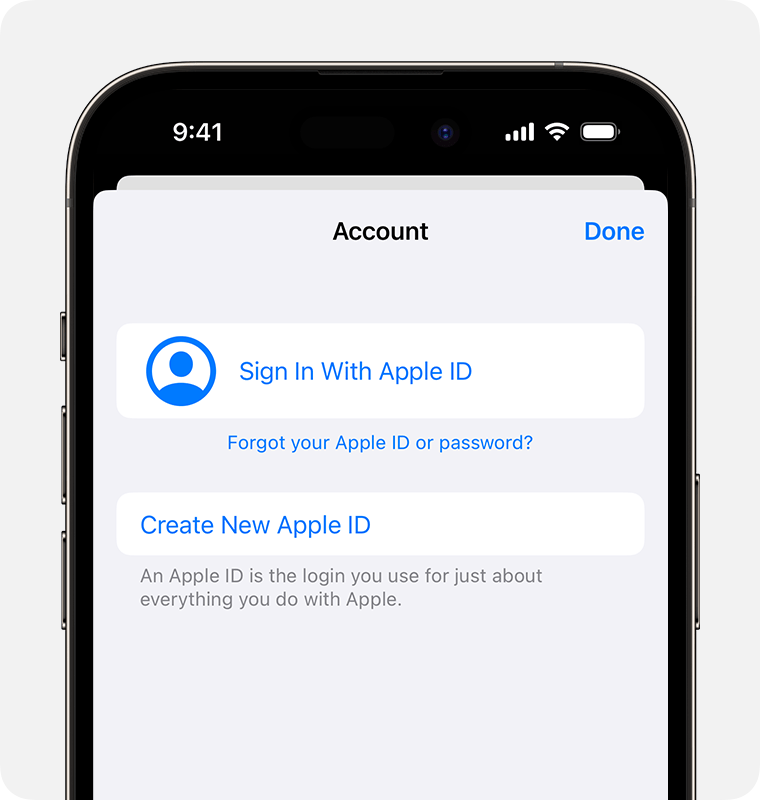
- Open the App Store and tap the My Account button.
- Tap Create New Apple ID. If you can’t see this option, make sure you’re signed out of iCloud.
- Follow the onscreen steps to provide an email address, create a strong password and set your device region. The email address that you provide will be your new Apple ID.*
- Enter your payment method and billing information, then tap Next. You can also choose None. You won’t be charged until you make a purchase.
- Confirm your phone number. This can help you verify your identity and recover your account, if needed. Tap Next.
- Check your email for a verification email from Apple and verify your email address.
After you have verified your email address, you can use your Apple ID to sign in to theiTunes Store, App Store and other Apple services, such as iCloud.
* In China mainland, you may be required to provide a +86 phone number for your Apple ID. You can change the number later, or change your country or region to a location that doesn’t require it. This number is only used for verification purposes.
Apple IDs can be created on an iOS device with iOS 9 or later.
Create your Apple ID on Mac
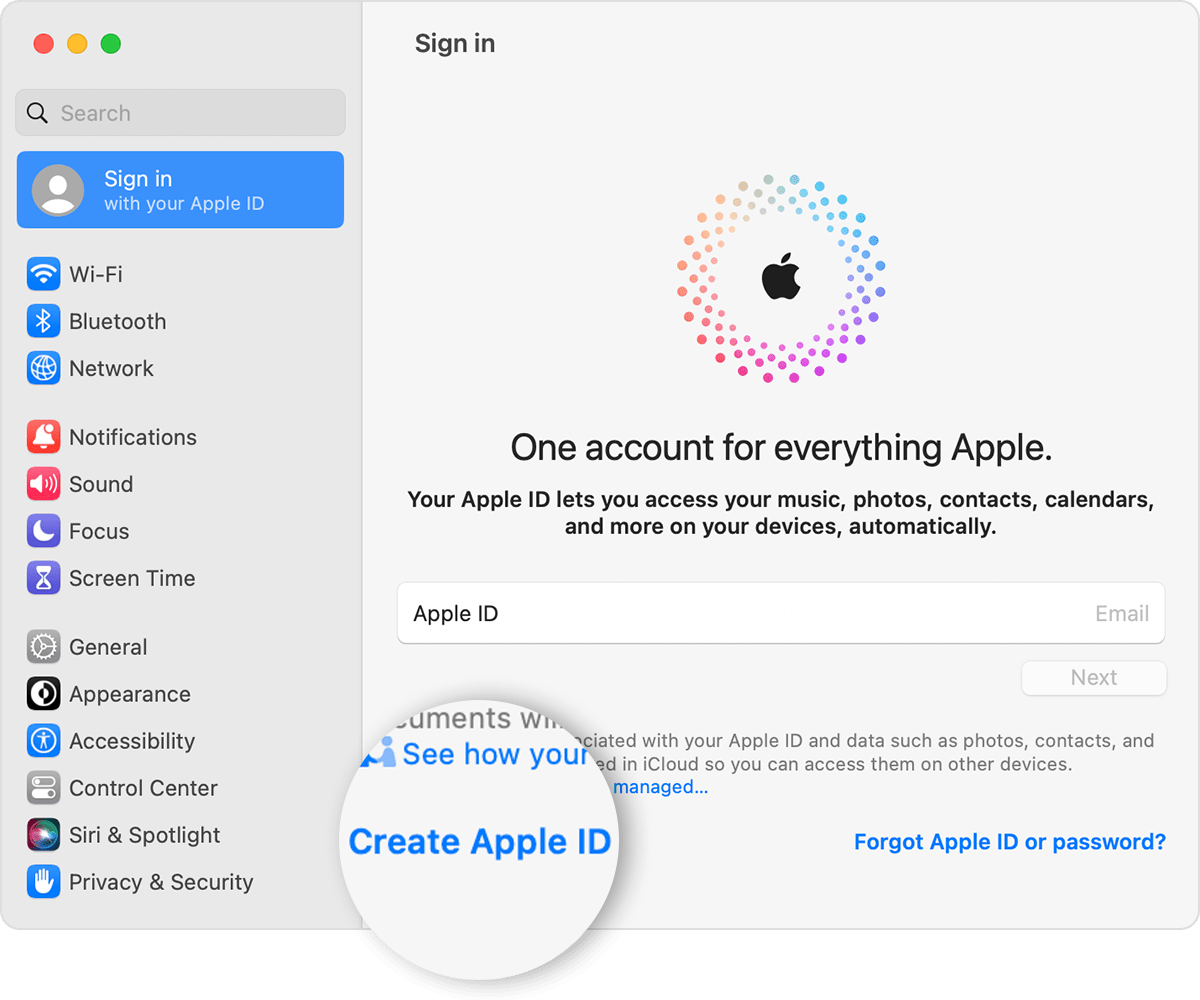
- Choose Apple menu > System Settings. In earlier versions of macOS, choose Apple menu > System Preferences.
- Click Sign In with your Apple ID from the sidebar. In earlier versions of macOS, click Sign In.
- Click Create Apple ID, then follow the onscreen steps to provide an email address, create a strong password and set your device region. The email address that you provide will be your new Apple ID.*
- Enter your payment method and billing information, then click Continue. You can also choose None. You won’t be charged until you make a purchase.
- Check your email for a verification email from Apple and verify your email address.
After you’ve verified your email address, you can use your new Apple ID to sign in to the App Store and other Apple services, such as iCloud.
* In China mainland, you may be required to provide a +86 phone number for your Apple ID. You can change the number later, or change your country or region to a location that doesn’t require it. This number is only used for verification purposes.
Apple IDs can be created on a Mac with OS X Capitan or later.
Create your Apple ID on a Windows PC
- Open iTunes for Windows. Make sure you have the latest version.
- From the menu bar at the top of your computer screen or at the top of the iTunes window, choose Account > Sign In. Then click Create New Apple ID.
- Follow the onscreen steps to provide an email address, create a strong password and set your device region. The email address that you provide will be your new Apple ID.*
- Enter your payment method and billing information, then click Continue. You can also choose None. You won’t be charged until you make a purchase.
- Check your email for a verification email from Apple and verify your email address.
* In China mainland, you may be required to provide a +86 phone number for your Apple ID. You can change the number later, or change your country or region to a location that doesn’t require it. This number is only used for verification purposes.
Create your Apple ID on another device
To create your Apple ID on an Apple TV, Android device, smart TV or streaming device, you can usually follow the steps provided onscreen and enter your full name, date of birth, an email address or phone number, and a payment method. If you set up the Apple TV app on your smart TV, you may be redirected to activate.apple.com to create your Apple ID. You can also follow the steps below to create your Apple ID on the web.
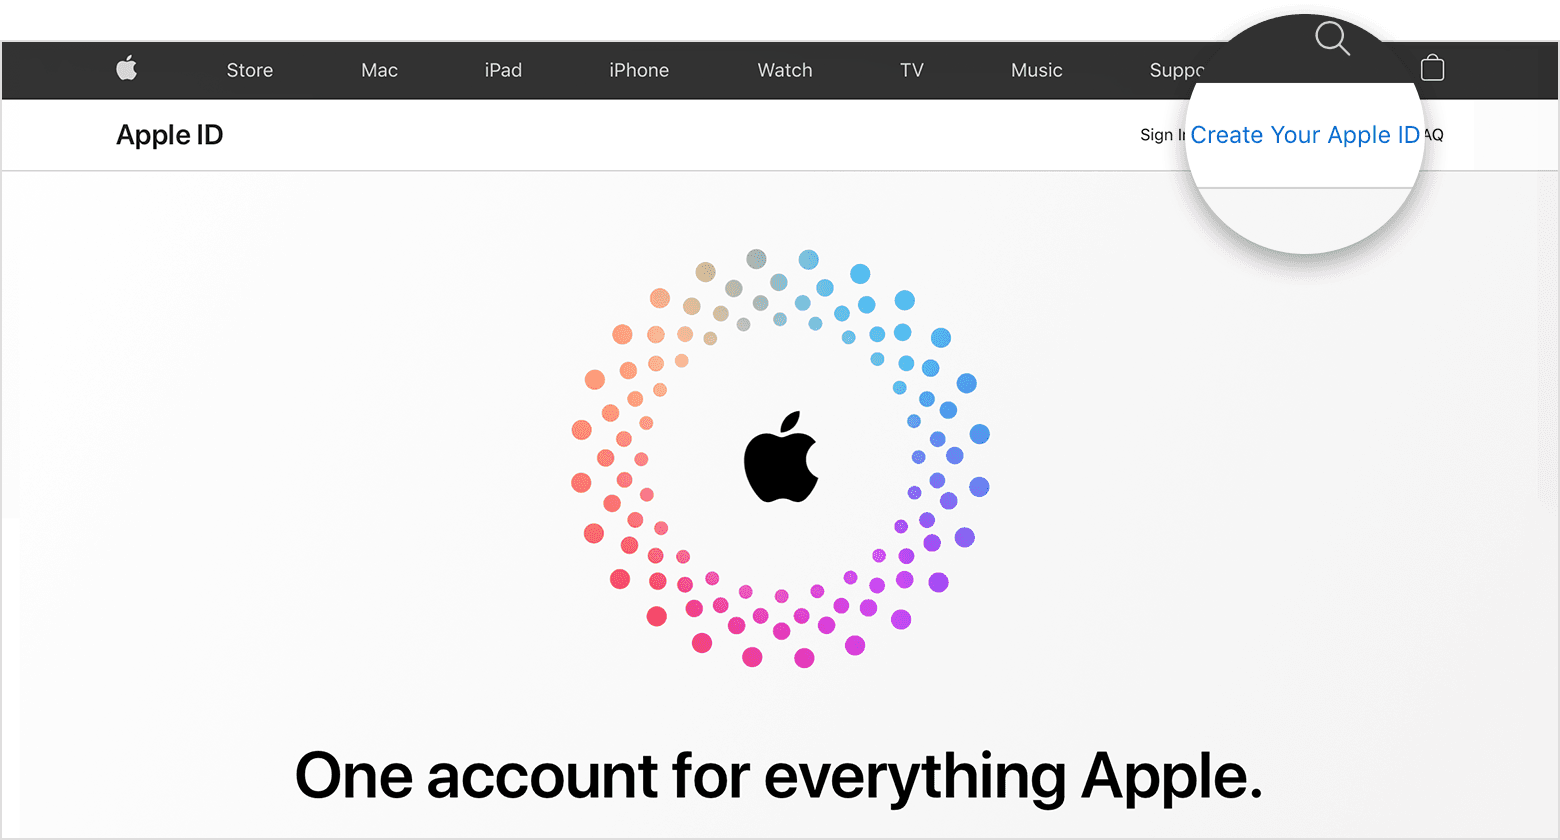
Create your Apple ID on the web
- Go to appleid.apple.com and click Create Your Apple ID.
- Follow the onscreen steps to provide an email address, create a strong password and set your device region. The email address that you provide will be your new Apple ID.*
- Enter a phone number that you will always have access to.
- Tick the boxes to subscribe to Apple Updates if you want to. This keeps you up to date on the latest news, software, products and services from Apple.
- Click Continue.
- Follow the onscreen steps to verify your email address and phone number.
After you’ve verified your email address, you can use your new Apple ID to sign in to the iTunes Store and other Apple services, such as iCloud.
* In China mainland, you may be required to provide a +86 phone number for your Apple ID. You can change the number later, or change your country or region to a location that doesn’t require it. This number is only used for verification purposes.
If you see a message stating that you need to sign in to iTunes
If you have created your Apple ID on the web and see a message saying that you need to sign in to iTunes, follow the steps below for your device:
- On iPhone or iPad: open Settings, then tap Sign in to [device]. Then sign in with your Apple ID.
- On Mac: choose Apple menu > System Settings, then select Apple ID and sign in with your Apple ID.
- On Apple TV: Sign in to the App Store, iTunes Store or Apple Musicwith your Apple ID.
- On a PC or Android device: go to tv.apple.com/gb or music.apple.com/gb and sign in with your Apple ID.